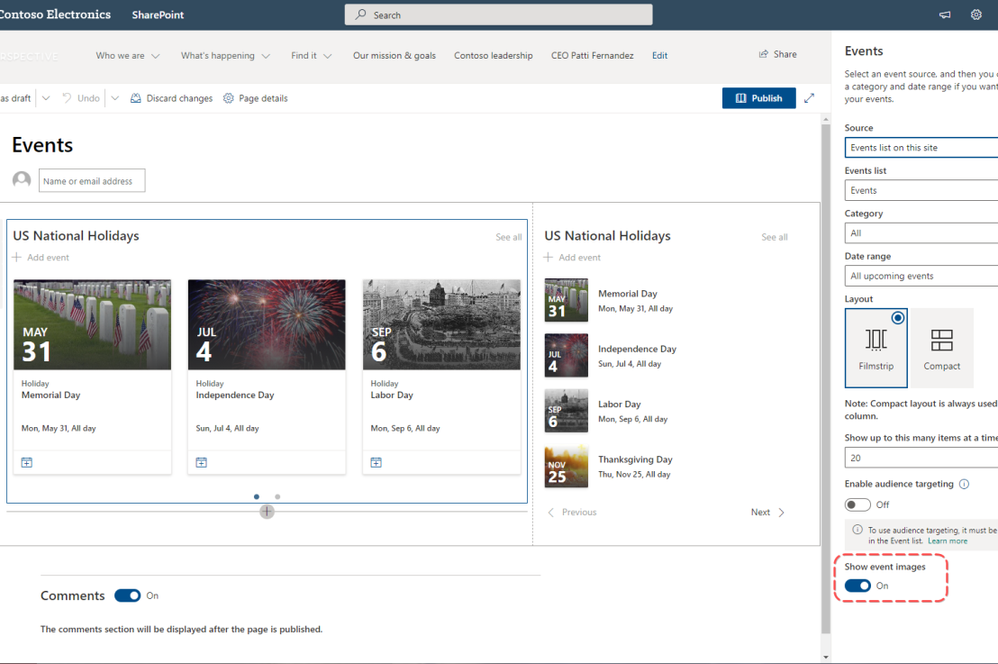
In SharePoint, you can connect web parts on a page so that filtering one web part dynamically updates others. For example, select a department value in one web part to display only related records in a list view. We’ll use SharePoint events web part linking to illustrate the process.
Connecting web parts like this without code relies on SharePoint list associations and filters. It takes a few configuration steps but enables dynamic interactivity between components.
In this article, follow along as we:
- Create associated SharePoint lists to manage filter values
- Add and connect list web parts in SharePoint
- Dynamically filter item list views using column selections
You’ll be able to create live SharePoint dashboards with custom list associations tailored to your needs.
Step 1 – Create Associated SharePoint Lists
First, create two SharePoint lists that are associated:
- A lookup list to manage filter values
- An item list to display filtered results
| Department |
| Marketing |
| Sales |
| Service |
Item List
| Title | Department | Date | Status |
| Social Media Post | Marketing | 9/10/2023 | Active |
| Sales Demo | Sales | 9/11/2023 | Completed |
| Customer Ticket | Service | 9/12/2023 | New |
The Department column links the lists.
To associate in SharePoint:
- Edit the Item List
- Select the Department column
- In the panel, choose “Get Information From”
- Select the Lookup List and its Department field
This associates the lists dynamically through the shared column.
Time to add filterable web parts for the lists!
Step 2 – Add List Web Parts to Page
Navigate to the desired SharePoint page and add two web parts:
- A lookup list view for Departments
- An item list view for service Tickets
We’ll filter Tickets based on Departments.
Configuring the associations only took a few clicks. Now the lists can interact dynamically!
But the best part is connecting the web parts to filter data.

Step 3 – Connect Web Parts
Click the list view title for Departments and select “Connections”. Choose “Send filter value to Tickets”.
Then select the view title for Tickets and choose “Filter”.
Choose “Connect selected field to” the Department column.
That’s it! Now when selecting a department, the tickets filter instantly.
Let’s test it out. Choose Marketing in the Departments pane. This auto-filters to only Marketing tickets!
The connecting configuration took seconds to set up, but will facilitate dynamic filtering and powerful dashboards!
Connecting web parts without code is that easy. To recap, we:
- Built associated SharePoint lists
- Added list view web parts
- Connected the filter and receiving web parts
Utilize these steps to create interactive, filtered SharePoint dashboards tailored to your specific needs.
The benefit over custom filters is that end users can modify associated SharePoint lists without development.
To develop more advanced filtering, explore incorporating:
- SharePoint designer and workflows
- Filter web part customization via code
- Additional filter types like date ranges or choice fields
However, for intuitive interactive dashboards, leveraging SharePoint associations and SharePoint events web part connections does the job superbly.

